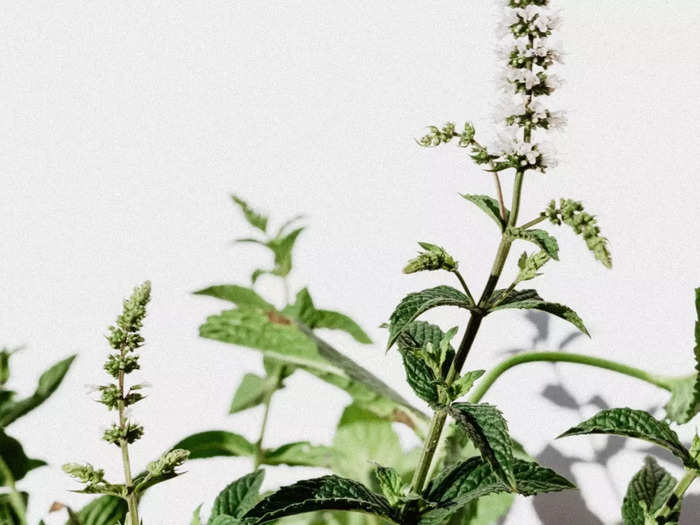
Mint, renowned for its refreshing aroma and cooling taste, is an easily cultivated herb with abundant advantages. It flourishes at home, best grown in mild spring or early summer temperatures, in moist soil with partial shade. Homegrown
mint ensures a convenient supply of fresh leaves to enhance beverages, salads, and desserts. Moreover, mint possesses medicinal qualities, aiding digestion, relieving headaches, and soothing respiratory ailments. Its invigorating scent naturally deters pests. Embracing the versatility of mint and reaping its numerous benefits is effortlessly achieved by incorporating it into your home garden.
Things Required:
- Mint seeds or young mint plants (also known as seedlings)
- Planting pots or containers with drainage holes
- High-quality potting soil or compost
- Watering can or spray bottle
- Sunny location or grow lights (if growing indoors)
- Fertilizer (optional)
- Mulch (optional)
Here's a step-by-step guide on how to
grow mint at home:
Step 1: Choose the Planting Location:
Mint thrives in full sun to partial shade. Select a location that receives at least 4-6 hours of sunlight daily.
If growing indoors, place the mint near a window with ample sunlight or use grow lights to provide sufficient light.
Step 2: Prepare the Planting Containers:
Choose a pot or container that is at least 8-12 inches deep and has drainage holes to prevent waterlogging.
Fill the container with well-draining potting soil or a mixture of potting soil and compost. Leave some space at the top for watering.
Step 3: Planting Mint:
If using seeds, sow them on top of the soil and lightly cover them with a thin layer of soil. Water gently.
If using young mint plants, dig a small hole in the soil that is large enough to accommodate the plant's root ball. Place the plant in the hole and cover it with soil, firming it gently around the base of the plant. Water thoroughly.
Step 4: Watering and Maintenance:
Mint requires consistent moisture to thrive. Water the plants regularly, keeping the soil evenly moist but not waterlogged. Avoid overwatering, as it can lead to root rot.
Check the moisture level by inserting your finger into the soil. If it feels dry, water the mint.
Mist the leaves with water using a spray bottle to provide additional humidity, especially if growing indoors.
Step 5: Fertilizing (optional):
Mint generally doesn't require much fertilization. However, if desired, you can feed the plants with a balanced, water-soluble fertilizer once every 4-6 weeks during the growing season.
Follow the instructions on the fertilizer packaging for the correct dosage and application method.
Step 6: Controlling Mint Growth:
Mint has a tendency to spread vigorously. To control its growth, consider planting it in a container or a raised bed to prevent it from taking over your garden.
Alternatively, you can plant mint in a bottomless container buried in the ground to restrict its lateral growth.
Step 7: Harvesting Mint:
Once the mint plants reach a height of about 6-8 inches, you can start harvesting the leaves.
Pinch or snip off individual leaves or stems as needed, starting from the top of the plant. This will encourage bushier growth.
Harvest in the morning when the leaves are at their most flavorful.
Step 8: Mulching (optional):
Mulching can help conserve moisture, suppress weed growth, and regulate soil temperature around the mint plants.
Apply a layer of organic mulch, such as straw or wood chips, around the base of the plants, leaving some space around the stems.
Some tips to keep in mind while growing mint on your own:
- Choose the Right Variety
- Provide Adequate Sunlight
- Use Well-Draining Soil
- Water Regularly
- Pinch and Prune Regularly
- Watch for Pests and Diseases
- Rotate Planting Locations
By following these steps and providing the necessary care, you can enjoy fresh, homegrown mint throughout the year.

 Next Story
 Virtual Reality in Healthcare
 Thailand is now welcoming Indians with open arms, but are its drought-hit islands really prepared for a tourism influx?
 Thoughtful gift ideas to make Mother's Day extra special
 Muslims up, Hindus down: What’s the larger picture behind India’s religious population trends?
 Scooch over magic mushrooms, toad venom could be the next big psychedelic for depression and anxiety!
